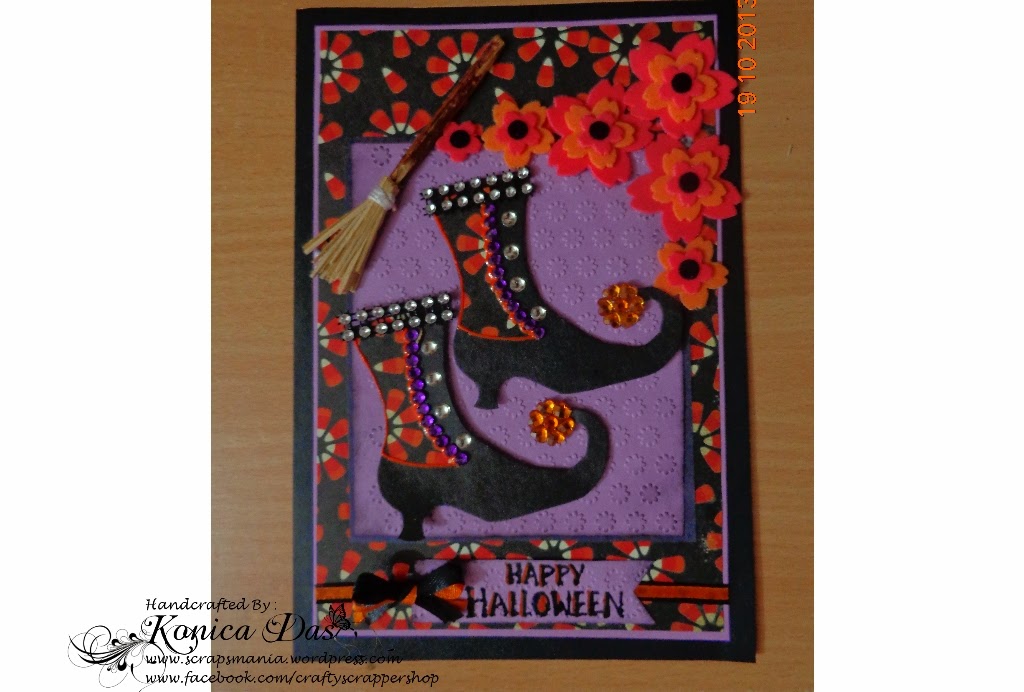
Welcome to the second challenge on this new challenge blog. We are so happy you've joined us and can't wait to see what you've created. The theme for this two week challenge is:
HALLOWEEN--NOT A CARD
Prize for this challenge is a
$5 Gift Certificate for SVG files
from the Creative Pointe's
ON LINE STORE.
You'll find over 100 SVG files/sets available for all your paper crafting projects.
Lots of free SVGs too!
Winner will be randomly chosen from all submissions.
One extra special entry will receive the"Creative Choice" button.
Ready for some spooky inspiration? The Design Team TOTALLY out did themselves by providing TWELVE super spooky projects. Let's take a look at what they created using SVG diecuts. For more information and/or instructions, please click on their individual blog link.
Octavia made the scrapbook layout (above) and candy box (below) also using the "Halloween Set Two". In addition, the page layout also used Fence (http://www.birdscards.com/) and Haunted Tree (www.svgcuts.com) SVGs. She inked the edges of the paper (Recollections) with Stampabilities Black Pigment Ink
Pad.
The candy box used the Spider SVG from "Halloween Set Two". It was cut and glitter flocked (Studio G). Eyes are drops of Inksentials Enamel Accents. Paper (The Paper Studio All Seasons Paper Pack) was adhered to a pre-made box with Yes Paste. The ribbon was purchased at Michael’s
Victoria from PAPER SQUIRREL created this funky pumpkin friend. She said "Oh
boy, did I have fun with this one! Meet Mr. Steampunk'in and his friend Sir
Crow! I started with a peat pot, a popsicle
stick, and The Creative Pointe's "FALL SET"
SVG file collection and the pieces just kept miraculously falling into place
until Mr. Steampunk'in was complete!"
Cindy from
THE CREATIVE POINTE created this creepy test tube holder using a file from
Creations By AR . She took the original file and modified the circle opening to fit the test tube she had (Martha Stewart) and also created and cut an arched piece to go behind the test tube.
"That's what I love about SCAL...I can take a file and rework it to fit my needs. I get a truly custom piece!"
Cindy also used a Freebie file from The Creative Pointe--
BOO SPIDER FREEBIE. For more details, please check out her blog.
Shelissa from
SHELISSA'S CRAFT STUDIO created a cute and spooky favor bag using the
HALLOWEEN SET TWO. Any kid would be thrilled to receive their goodies in this!
Carolyn from GRANNY MA's CREATIVE BLOG felt that the "Not A Card" part WAS a challenge for her. You'd never know it because she submitted three fabulous projects! Above are cute cupcake toppers made with HALLOWEEN SET ONE and the newest freebie file, BOO SPIDER FREEBIE. Here's how she made the toppers: "Using my SCAL3 software I downsized the images to fit onto a Popsicle stick that I trimmed in half...you could use toothpicks but these flat sided Popsicle sticks work great and I found them in the craft area at Wal-Mart...where the cake decorations are sold. I ended up using adhesive on the stick to glue the figures on.... 2-sided tape did not work very well for me!! The cupcakes I baked to "stage" the photo were enjoyed by my sister's co-workers!!"

Above Carolyn used the "Halloween" heading from the same SVG set to create a cupcake wrapper. She said, "I used cardstock and paper from my Wal-Mart stash...but if I made these again, it would be just paper, I think. (Any ideas on that?!) I wanted to show the project before and after wrapping around a cupcake."

Carolyn also used HALLOWEEN SET ONE to put together this awesome "Spirits of Halloween" scrapbook layout shown above. Here's what she had to say: "I surfed the Internet for inspiration and loved this layout so I decided to use ... thank you to whoever created the original...can't remember. (Need to write this info down...another idea to work on...an altered book for use here at the computer.) Using SVG files from The Creative Pointe, I gathered my paper/cardstock from my Wal-Mart and Stampin! UP stash. I found a frame while surfing the Internet, saved, printed and cut from my Designing Edition for the Silhouette Cameo. Placed the orange background on the 12x12 page and placed the frame with acetate sheets (from the cover of my Cricut mat) as a glass window, and used foam tape to pop up the frame on each side and the bottom edge, leaving the top edge open to insert a photo. The witch, ghost, cat and Halloween title are Creative Pointe SVG files. Fence is from a Creative Kuts SVG file that I placed in the vitual mat, joined, then cut out. Pumpkin SVG is my file."

Penny from PENNY DUNCAN CREATIONS created a fun Halloween hanging using the HALLOWEEN SET TWO. Here's what she had to say: "I
started off with picking a few of the files from the Creative Pointe set.......then went from there...pulling in one of my spider web files and then
my scary spider.......and then it all fell together....I cut all the pieces with
my Silver Bullet Professional Cutter......and used some awesome
papers......everything that has glitter on them I decided to cut with just
regular black cardstock and put a layer of double sided adhesive on it which I
get from Tyler at All That Jazz Supplies.....this is some awesome stuff!!!! Cut
the shapes out...then removed the top layer of the adhesive and coated with
glitter......works PERFECTLY!!!!
You'll
notice on the tombstone piece I used Vintage Glitter...WOWZERS isn't that
beautiful........love the affect....I was trying for an old stony looking
headstone.......I kinda think it looks like it......for orange pieces.......(not
the background piece) I used some Velvet paper from The Paper Temptress ....it
was white and I colored them orange with a Dick Blick Alcohol Marker and it
worked just as I had envisioned.....the pumpkin piece I ran through my embossing
machine using a spider web folder.....really makes it look like a pumpkin
texture don't you think!! ;) all of the pieces I used some Walnut Stain
Distressed Ink to give them more of an aged look.....
Check
out the bat and the spooky spider....are they ADORABLE....I decided to use some
of Tyler at All That Jazz Supplies' Black Velvet Paper......LOVE this stuff!!!!
I find myself continuing to touch it cause I just LOVE the feel of it!!!!
So then I just layered layers and layered...used foam squares on everything.....added a couple of eyelets at the top so I could thread some ribbons through them and tie off....Voila!!!! Completed......and a fun thing to have displayed.......So...Do you like it??????? I hope so......I think it makes you smile!!! Would LOVE to hear your thoughts!!!!"
Tina from TINA'S SCRAP CORNER created this "Autumn Harvest" scrapbook layout using the heading from the FALL SET. She gives the details: "I created a 12 X 12 layout for the theme this time. The
layered title plate was cut with SCAL v2 and a part of the Fall Set
collection from Creative Pointe. This is a really cute set and could be used
for a variety of layouts or cards. All the pieces were cut from scraps of
cardstock on hand. The layout is pictures from 2008 of a good potato harvest
that year. When the leaves start to change colors then we usually start
harvesting white potatoes."
Last, but certainly not least, Pam from MZLAVR2's CREATIONS is showing us her spectacular Coffin Mini Album. Pam used the COFFIN CARD file along with several cuts from the Silhouette Studio Store and SVG Cuts. This project includes an Original Artwork Template designed by Kristi W. Designs. Cutting File Pattern from KaDoodle Bug Designs. (License number #KWMDPL28)
She has pictures of each page and you don't want to miss any of them so be sure and click over to her blog to see them. Here's just one of them....notice how the tags fit behind the tombstones? SO CUTE!